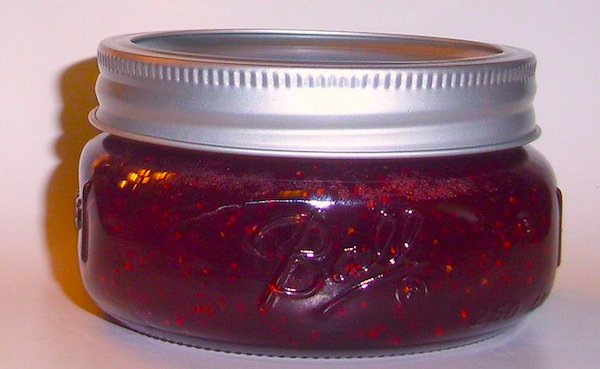
Food: Canning Strawberry Preserves

Cary, NC — If you’ve ever made (and canned) homemade strawberry preserves, then you know that it’s quite the process. I always make a mess but end with a success!
Canning Strawberry Preserves
Canning is definitely messy, but it’s well worth it. I, for one, seem to always underestimate how much room I have in my pot of boiling preserves. The sticky–but delicious–mixture almost always boils over and makes a huge mess. I may or may not have started a (small) stove-top fire this year.
Just make sure that the preserves only fill half of your pot (before boiling), and you’re set.
The Process
Put simply, canning strawberry preserves consists of these steps:
Set Up Your Station
Wash your canning jars, bands and lids well in warm, soapy water. Dry thoroughly.
You can re-use jars and bands from year-to-year; just make sure they’re clean and in good condition. The lids (which seal to the jar) can’t be re-used.
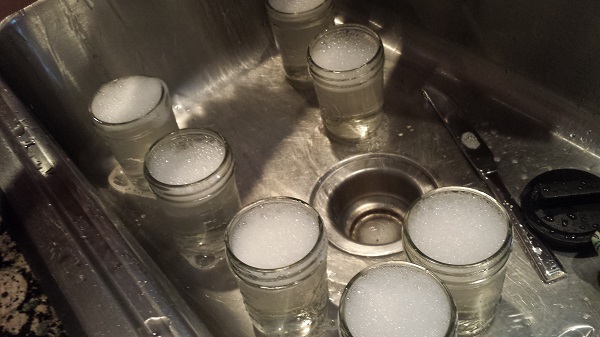
Wash your jars, lids and bands well.
Then, set up your station on the stove. Set a small pot of warm water on the back burner (keep the lids and bands warm in there while you work), place a large pot on one front burner (to cook the preserves) and place a deep, large pot on the other front burner (for your jars).
Place your clean, empty canning jars in your deep pot, and let the water heat up. Once the water starts to boil, let the jars boil steadily for ten minutes to sterilize them.
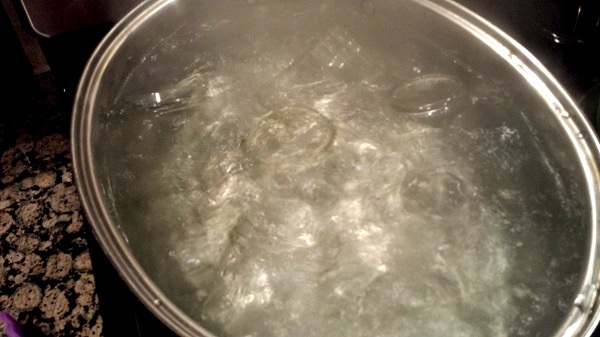
Let your clean, empty canning jars boil steadily in a hot bath for at least 10 minutes.
Prepare Your Strawberries
Wash and cap your strawberries (leave as much strawberry as possible, but make sure stems and dark spots are removed). I let them dry on clean dish towels.
It’s a good idea to sterilize extra canning jars and have them at-the-ready in case you make more preserves than you thought you originally thought you would.
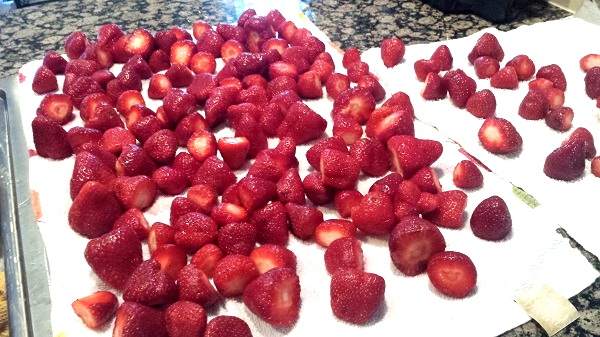
I used about double what you see here, but batch size is up to you!
Next, mush thee berries up! I like to use an “immersion blender,” but you can use a slotted spoon or food processor, too. I like to leave just a few pieces of strawberry in the mixture.

If you make too much pulp for your pot, and don’t want to bother with two batches, save this for smoothies.
Add Other Ingredients & Start Cooking
As you transfer this strawberry pulp to your large pot (remember, fill the pot no more than half way), measure how much you’ve added. You’ll need to know how many cups you have to know how much pectin and how much sugar to add in a minute.
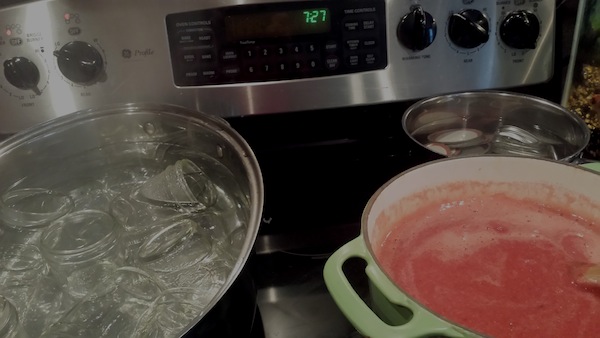
At this point, your stovetop should look something like this.
I haven’t included the sugar-to-pectin-to-preserves ratio, because, depending on strawberry size and quantity, everyone makes a different amount. You can find the ratio online.
I use a large glass measuring cup to transfer the pulp to the pot. I also make sure I have my jars out of the boiling water, upright and ready, with hot pads nearby, before I begin cooking. The bands and lids can stay in the pot of warm water.
Cook the strawberry pulp on medium heat. Once it’s warm, turn the heat up and add your pectin. Stir rapidly so it doesn’t clump. One the pectin is dissolved and the mixture starts to boil, you can add your sugar. Add slowly, stirring as you go. Once you’ve added both the pectin and sugar, you’ll need to let the mixture stay at a rolling boil (one you can’t stir away) for one minute.
Finishing the Job
Remove the pot from the heat, and start filling your jars until they’re just below the brims (I use a funnel and a measuring cup to transfer the hot mixture to the jars).
Make sure the rims of your jars are clean by wiping each with a damp towel. This is a very important step in canning, because, if your rims are sticky, your lids won’t seal properly.
Attach your warm lids and bands to each jar of preserves. Make sure your large pot is full with enough boiling water that it will cover two inches above the jars when they’re placed upright. Boil the jars at a rolling boil for at least five minutes. Remove with tongs.
You’ll hear little “pings” as your jars seal. Try not to touch the lids for 24 hours.
If any of your jars didn’t seal (there will be a “bubble” in the lid if this is the case), no worries. Just place the jars that didn’t seal in your refrigerator, and try to use them in the next month. Sealed jars can be placed in the pantry until they’re ready to use.
———————————————————————————————————————————
Story and photos by Jessica Patrick. Lead photo by BellaEatsBooks.


no you cant find the pectin ratio online. i have spent all winter researching canning strawberry jams and preserves. the only thin i found was a woman who said “hit and miss” you need to experiment with the pectin. well, i have ruined 15 pounds of berries. i grow them so it didnt cost money to get my berries, just my sweat. working in small batches i made first a bunch of poison, the second batch with twice as much pectin as the first, looked good tasted good hot, and smelled heavenly and reminded me of grandmas farm as a child. i opened it a few days later, cause i wanted a pb&j! it tastes …ok but its so thick you cant spread it on bread! what is the ratio?!?!?!?!?
Kat, I use a strawberry preserves ratio from Ball (the brand that makes the canning jars).
Here’s the link to the recipe, but it calls for 5 cups of crushed strawberries (about 5 pounds), 6 tablespoons of pectin and 7 cups of sugar.
I LOVE strawberry jam/preserves! Our family goes through about a Jar a week, so I have to make tons every year. I have a low sugar recipe on my website if you are interested. I use 10 cups berries, 8 TBSP pectin(the low sugar kind), and 3 1/2 cups of sugar. WAY less sugar and it sets up beautifully! 🙂 I tested it with less pectin/sugar and found that this ratio works the best 🙂
everyday-creative.com if you are interested 🙂